Shopping Cart Validation
This feature will help you determine if you have met the required requisites for a course, or if you need permission to register. Also, you can determine if you have time conflicts or other registration issues that you can resolve before your enrollment appointment.
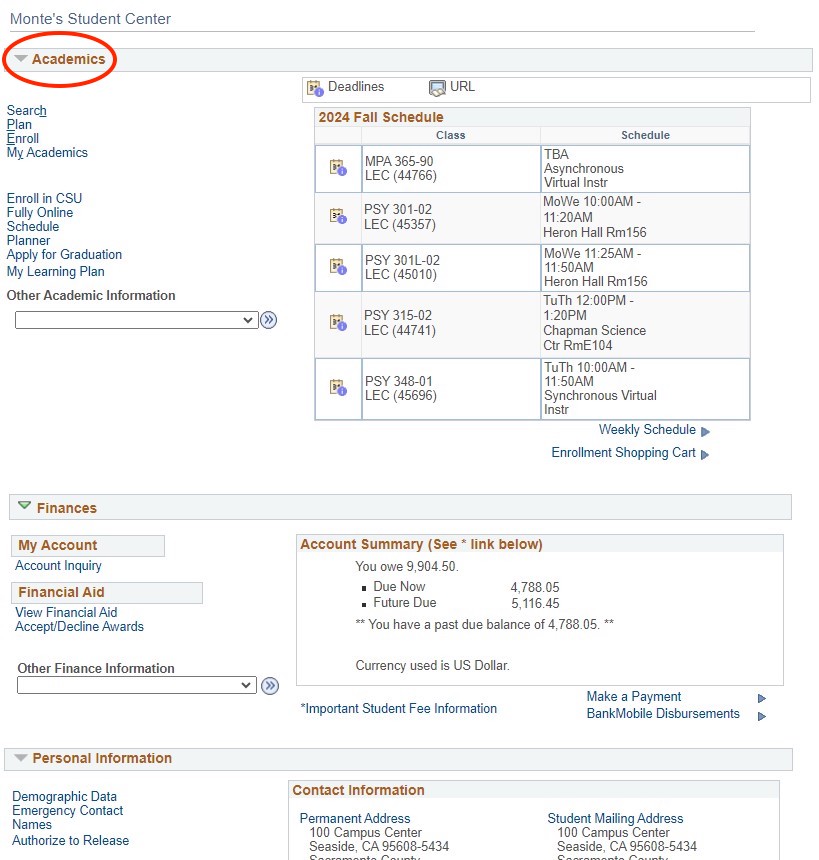
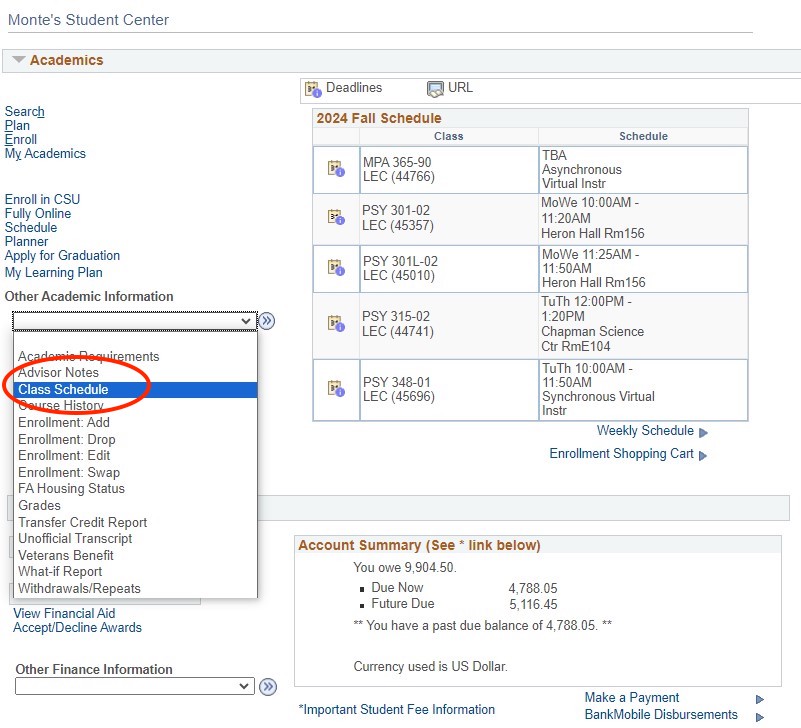
Step 1
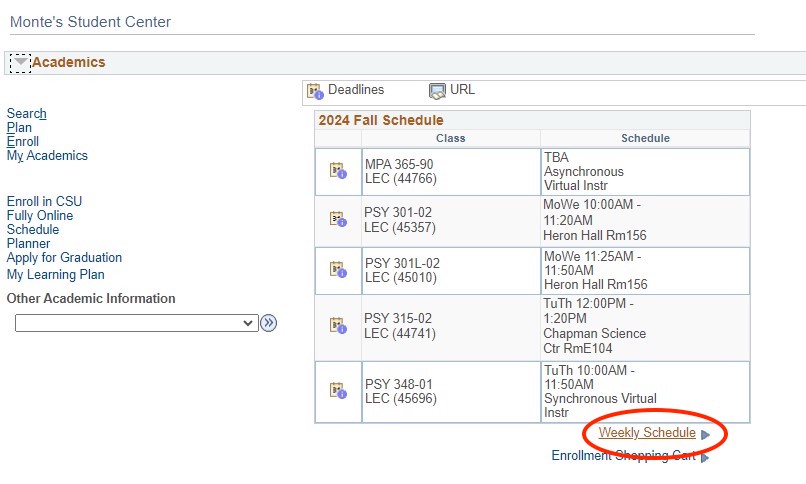
On the Student Center Page under the Academics tab click the "Plan" link
Step 2
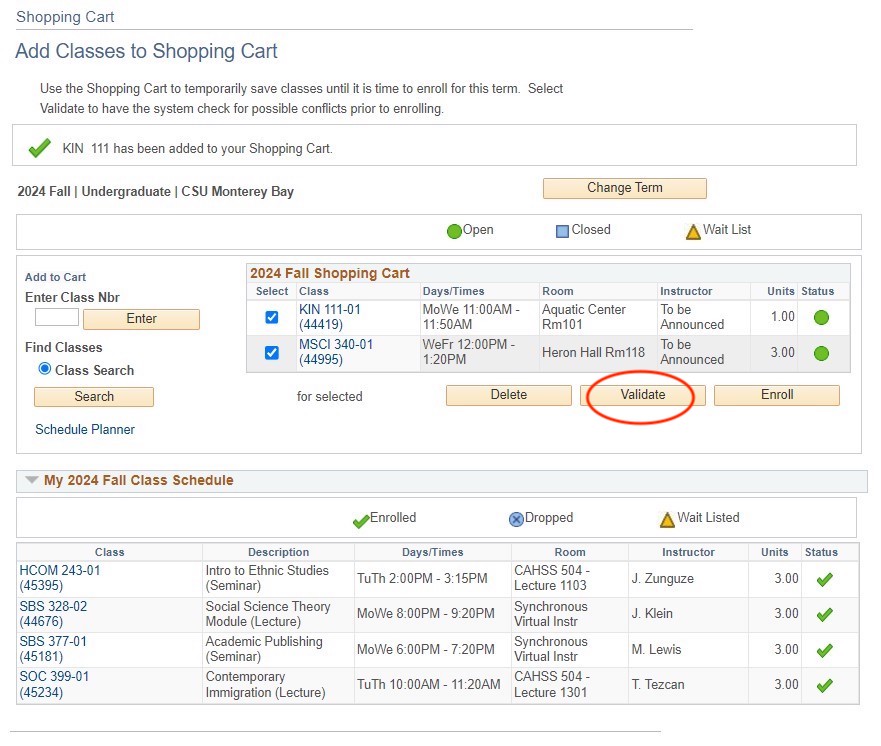
Add Classes to the Shopping Cart you wish to validate (see instructions on how to add a class on the Oasis page)
Step 3
To validate, you must select at least one course. To select a course, head to the shopping cart and click the checkbox on the left side of the course under the 'select' column.
Step 4
Select the Validate button once the courses are selected.
Step 5
Validation messages will appear on the next page and will vary.
For validation results, please note:
- A green checkmark indicates success.
- A red "X" indicates errors
- Review all messages to indicate why the class may not be validated