Add Classes using Permission Numbers
Step 1
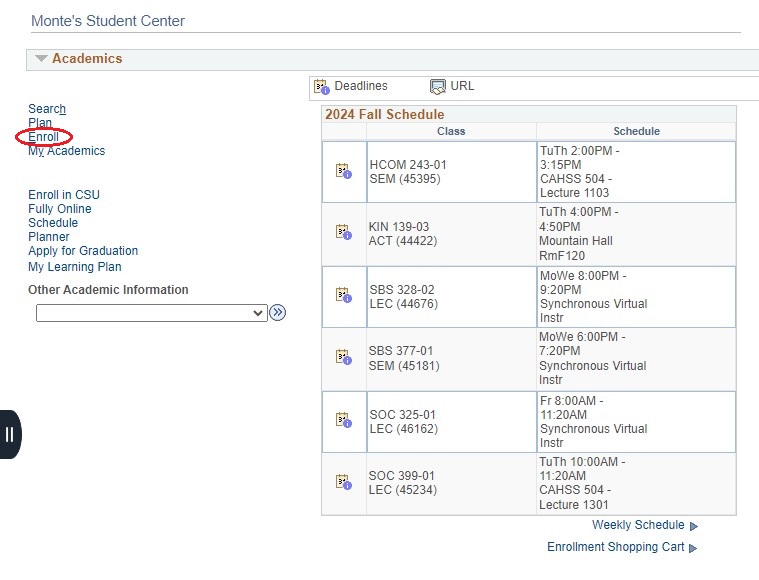
Navigation: Main Menu > Self-Service > Student Center > Academics

Step 2
Select on the Enroll link.
Step 3
Select a term and then select the green Continue button.
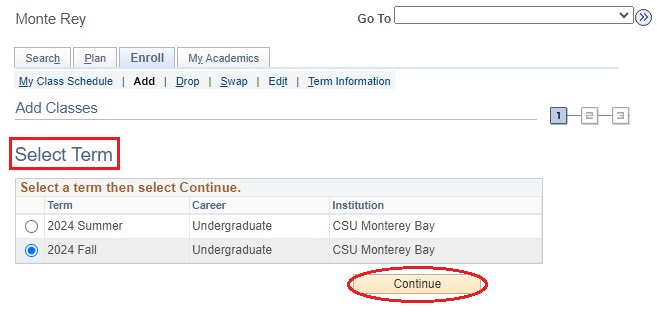
Please Note: To find classes fill out as much information as you have. You can perform this step multiple times.
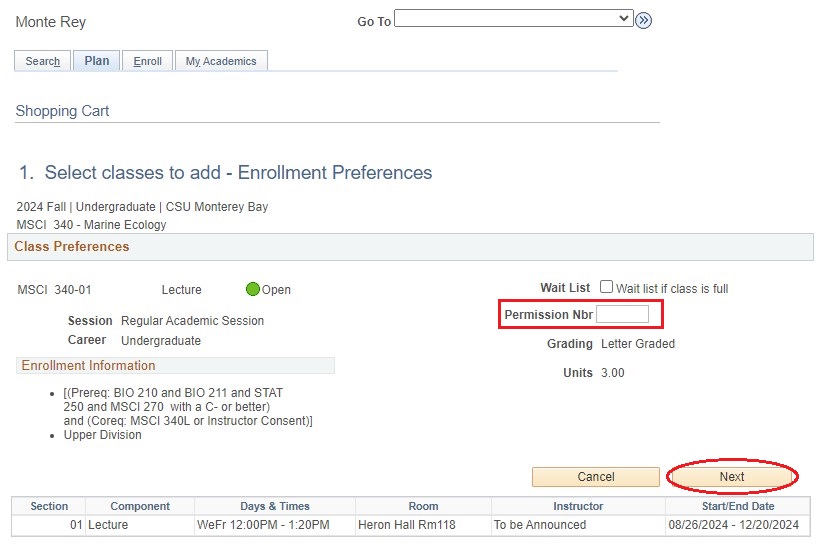
Step 4
After Verifying all of the course information, enter the permission number to continue the registration process.
Please Note:
- Obtain a permission number from the course instructor or department.
- Use the permission number when enrolling in the course in OASIS, or when enrolling to the course waitlist in OASIS.
- Once used to successfully enroll in a course, permission numbers cannot be used again.
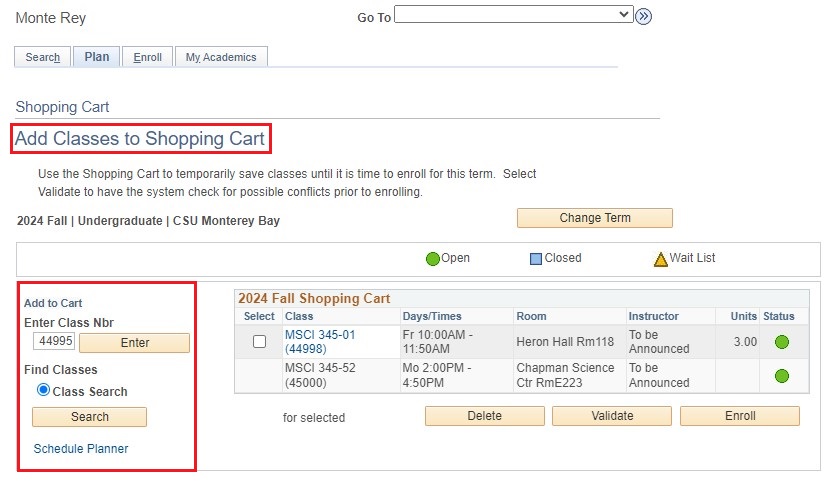
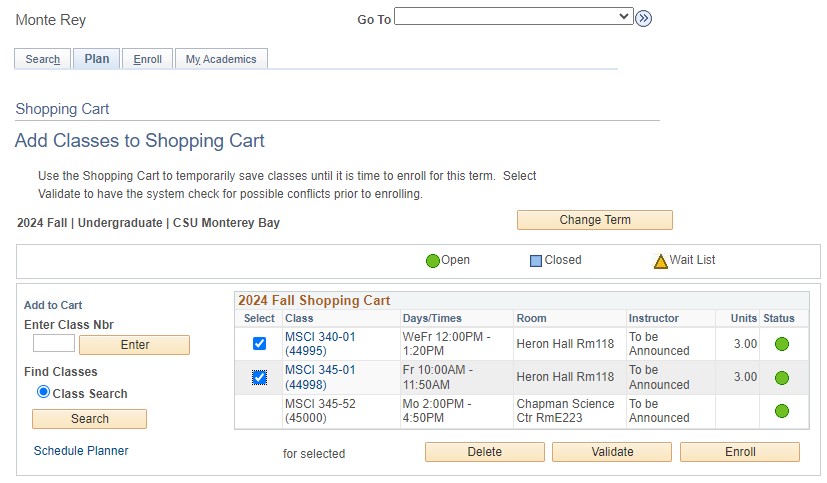
Step 5
Under the Select Classes to Add section:
- Verify all course information is correct
- Select the Proceed to step 2 of 3 button to add a class to the shopping cart (select the most important class first for multiple component classes).
Repeat above steps until all classes are added.
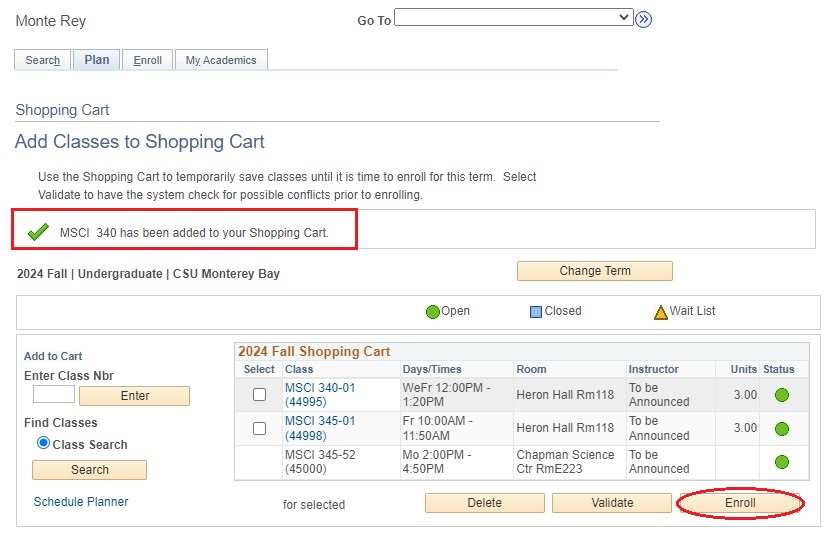
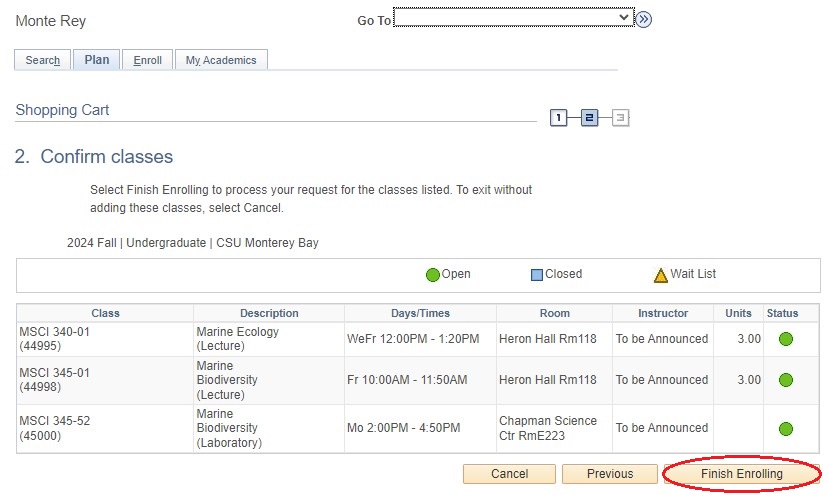
Step 6
Confirm Classes requested. Select the Finish Enrolling button.
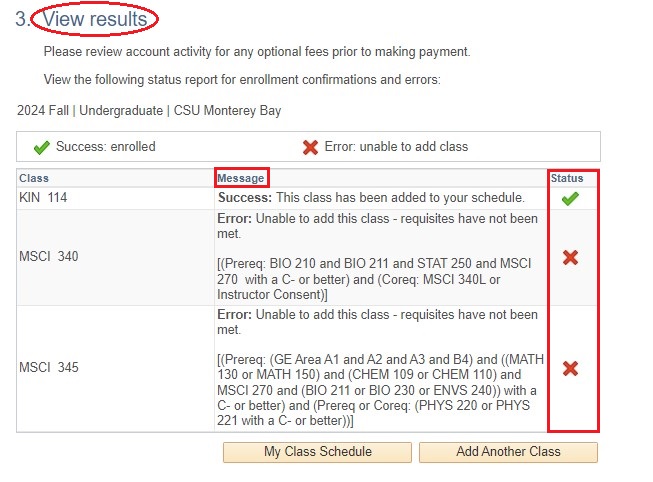
Step 7
View Enrollment Results.
Please Note:
- A green checkmark indicates success.
- A red "X" indicates errors - click "Fix Errors" to return to shopping cart.
- Refer to Registration Holds for details of how to resolve specific holds.
- Review all messages - you may be enrolled but have issues with a specific class.